How to Replace a Ceiling Fan Safely
Remove an old fan, verify fan-rated support, wire the replacement and prevent wobble.
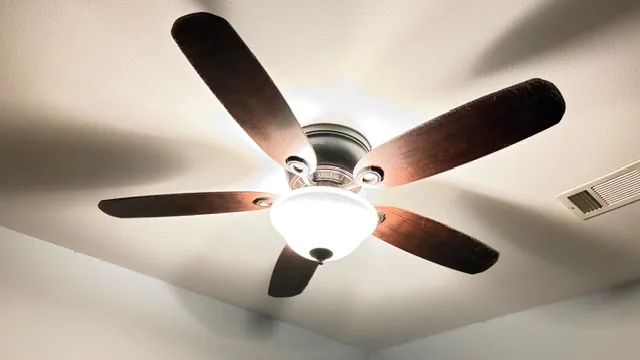
What to know
Choose a fan suitable for room size, ceiling height and indoor, damp or wet location.
What to check
Turn off the breaker and verify power is absent with a tester before touching wiring.
How to approach it
Photograph the original connections and inspect the box. It must be listed and supported for ceiling-fan use.
Common warning signs
Install the manufacturer’s bracket with the specified machine screws, not drywall screws.
When to stop
Connect conductors according to verified wiring and the fan instructions. Install blades evenly and use the balancing kit if necessary.
Common mistakes
- Replacing parts before identifying the cause
- Skipping measurements or manufacturer instructions
- Using fasteners or materials not rated for the application
- Closing the repair before checking for hidden damage
The fan-rated box matters more than the fan’s weight alone because rotation creates repeated movement.
Prefer to have it handled?
My Neighborhood Handymen serves Rockwall, Heath, Fate, Rowlett, Royse City, McLendon-Chisholm and nearby North Texas communities.
Request a Free EstimateThis guide provides general homeowner information. Local code, permits, licensing and site conditions may affect the correct approach.